
Precautions for use
1) It is recommend to use a power supply offering 20% more than the miner’s power requirement
2) PoE is not supported
3) Only Ethernet network connection supported
4) Use the miner in an environment between 10 to 35 degree Celsius
5) Keep the miner’s surrounding humidity below 65%
6) Keep the miner free of dust and catkins to prevent corrosion and/or heat accumulation
7) An internet speed of 1 Mbps can support up to 150 miners
8) A miner uses an estimated 500 MB of internet connection per month
9) Supported browsers: Google Chrome and Firefox
(1) Inspecting a new miner
1. Visually inspect the box when your miner package arrives. Look for signs of damage. If package is damaged, take photos of the package’s conditions before proceeding to open the package and inspect the miner. If miner is damaged as well, contact customer support immediately.
2. Inspect the miner for aesthetic damage. Look at the corners of the miner and check for dents and cracks. Look out for broken fan blades, cables, and bent connectors. If you noticed a damage or defect, contact customer support immediately.
3. Assess miner’s heat sinks. View from miner’s front and rear fan to check whether there are loose heat sinks. If you found loose heat sinks, contact customer support immediately.
Note: It is normal hear some marginal board movement when moving the miner as the hash boards are not tightly fitted to the miner case.
(2) Inspecting the miner’s cables and connectors
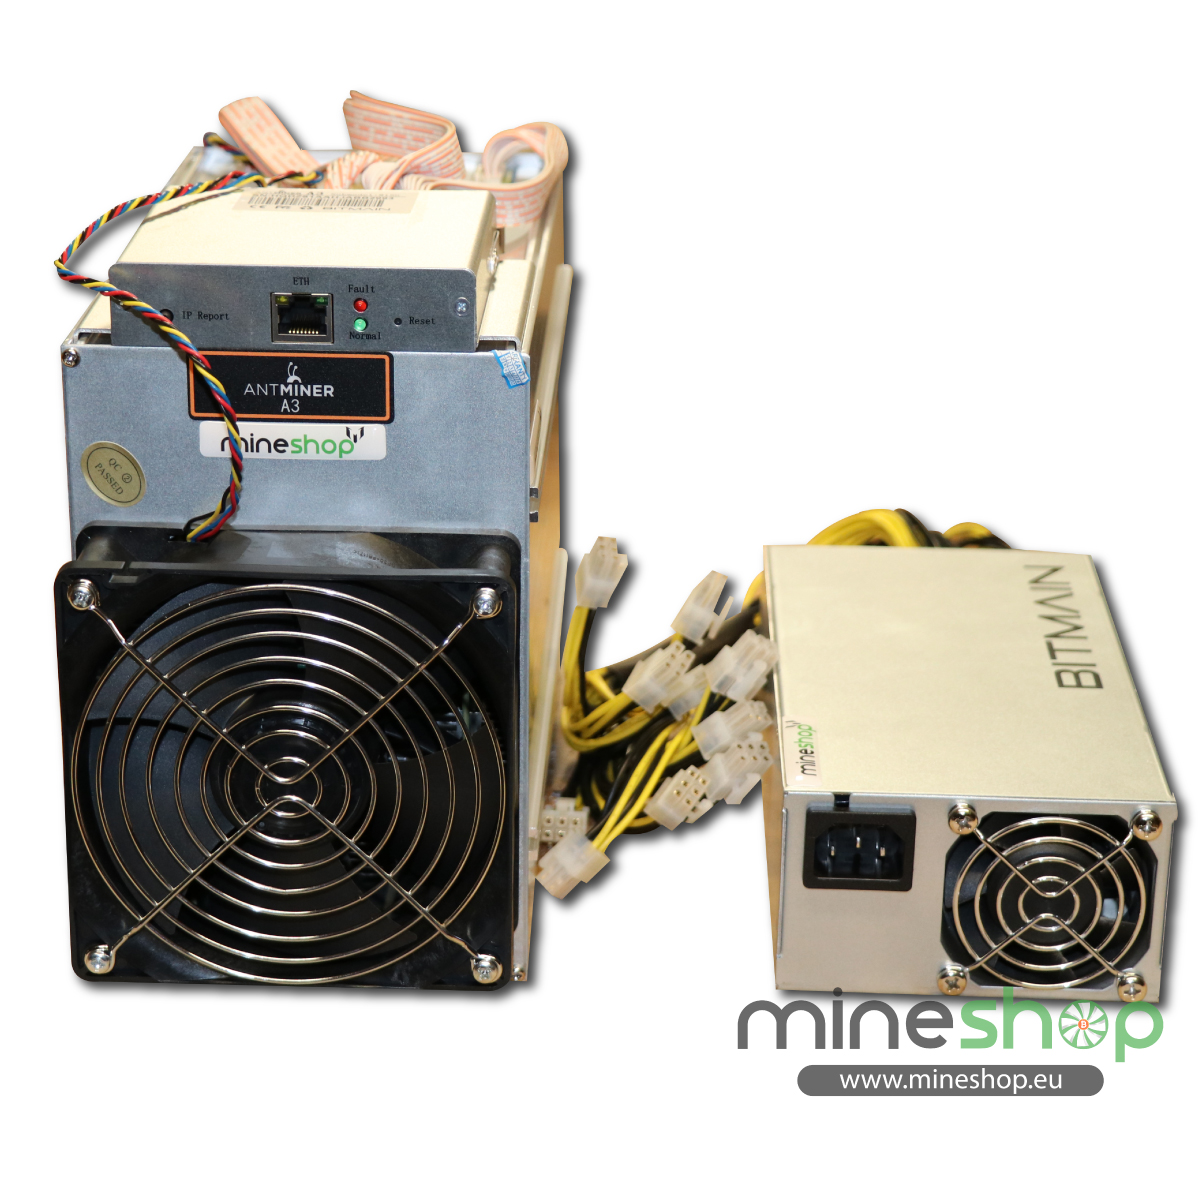
1. Every hash board on A3 has three PCIE connectors that is to be attached to a 12 V power connector. In total, there will be 9 power connections.
2. Every control board on A3 has one PCIE connector that is to be attached to a 12 V power connector.
3. Ensure the Ethernet crystal head connector is plugged.
4. Check that the cables and connectors are not loose.
5. Check that the fan connectors are not loose.
6. Check that power connectors to hash boards and control boards are plugged securely in the correct direction.
(3) Using the miner
1. Search for the miner’s IP
Power up the miner and wait for the normal (green) light to start flashing before searching for the miner’s IP address.
Then download the IP search software here: https://service.bitmain.com/support/download and look for IP Reporter as below.
a. Open the IP search software, press start
b. Press the “IP Report” button on the miner
c. The miner’s IP address will be shown
Note: Miner and computer must be on the same network to communicate.

2. Access to miner’s User Interface
Enter the miner’s IP address into the supported browser.
A dialog box will pop up which requires you to enter the login credentials; both username and password are “root”.
3. Setup miner’s network settings
Click the “Network” tab and choose “Static” from the Protocol dropdown list.
Key in the IP address, subnet mask, SWG, DNS, then click “Save&Apply”.
Note:
a. You may skip this step if you have less than 3 miners (You may skip at your own discretion, static IP is not required for less than 3 miners)
b. If you are unsure what are SWG & DNS, please feel free to check this page for more information in Chinese: https://cnforum.bitmain.com/bbs/topics/3249
4. Configure miner’s pool settings
Click the “Miner Configuration” tab and then “General Settings” to setup the mining pools. Key in the mining pool URL and miner name (under Worker).
There is no need to change the Password.
Then click “Save&Apply” to connect to the mining pools.
Note:
a. In the screenshots, we are using Antpool. Feel free to use other mining pools
b. We recommend to add the IP address behind the Worker’s name so that in case of any errors, the cause can be found easier
The miner configuration is now complete. It will take around 5 to 30 minutes to starting mining.
altcoins.