
If you’re in Canada and want to find a way to buy some Litecoin, we want to help. With our guide, you’ll learn how to buy Litecoin. Plus, we’ll share some basics around cryptocurrency and the best exchange to use when purchasing digital assets.
When it comes to buying Litecoin, most people use a cryptocurrency exchange. This is the most common method of purchasing any type of digital currency. To buy Litecoin Canada, you’ll want to register on an exchange, then deposit your funds. When that’s done, you can start buying, selling, and trading Litecoin.
If you want to buy Litecoin in Canada, you’ll discover that many exchanges also support other coins like Bitcoin, Ethereum, and Ripple. Chances are good if you’re using a large exchange, it will support Litecoin as well. When it comes to buying Litecoin in Canada, we recommend using Coinmama.
Coinmama is a standard exchange, which is the type of exchange most users visit when they want to purchase Litecoin. An exchange provides a platform on which you can buy Litecoin. However, before we start talking too much about buying Litecoin, let’s first talk about the type of exchange Coinmama is.
How to Buy Litecoin in Canada
Using a Standard Exchange
When using a standard cryptocurrency exchange, you can use fiat currency to purchase Litecoin. People like standard exchanges since they’re getting digital assets in exchange for the money they spend. If you have a digital wallet and want to buy Litecoin, then a standard exchange is your best option.
The standard exchange we recommend is Coinmama. Through Coinmama, you can buy as much Liteocin as you want. Coinmama has a minimum purchase amount, however, as long as you’re buying that much, it’s a great way to buy Litecoin Canada.
Buy Litecoin in Canada Through Coinmama
For buying Litecoin in Canada, we recommend visiting Coinmama. One thing to bear in mind as you get going with Coinmama is that the exchange does not have a mobile option. As a result, you won’t have a way to buy Litecoin on the go. However, the web platform is always accessible from your desktop or laptop.
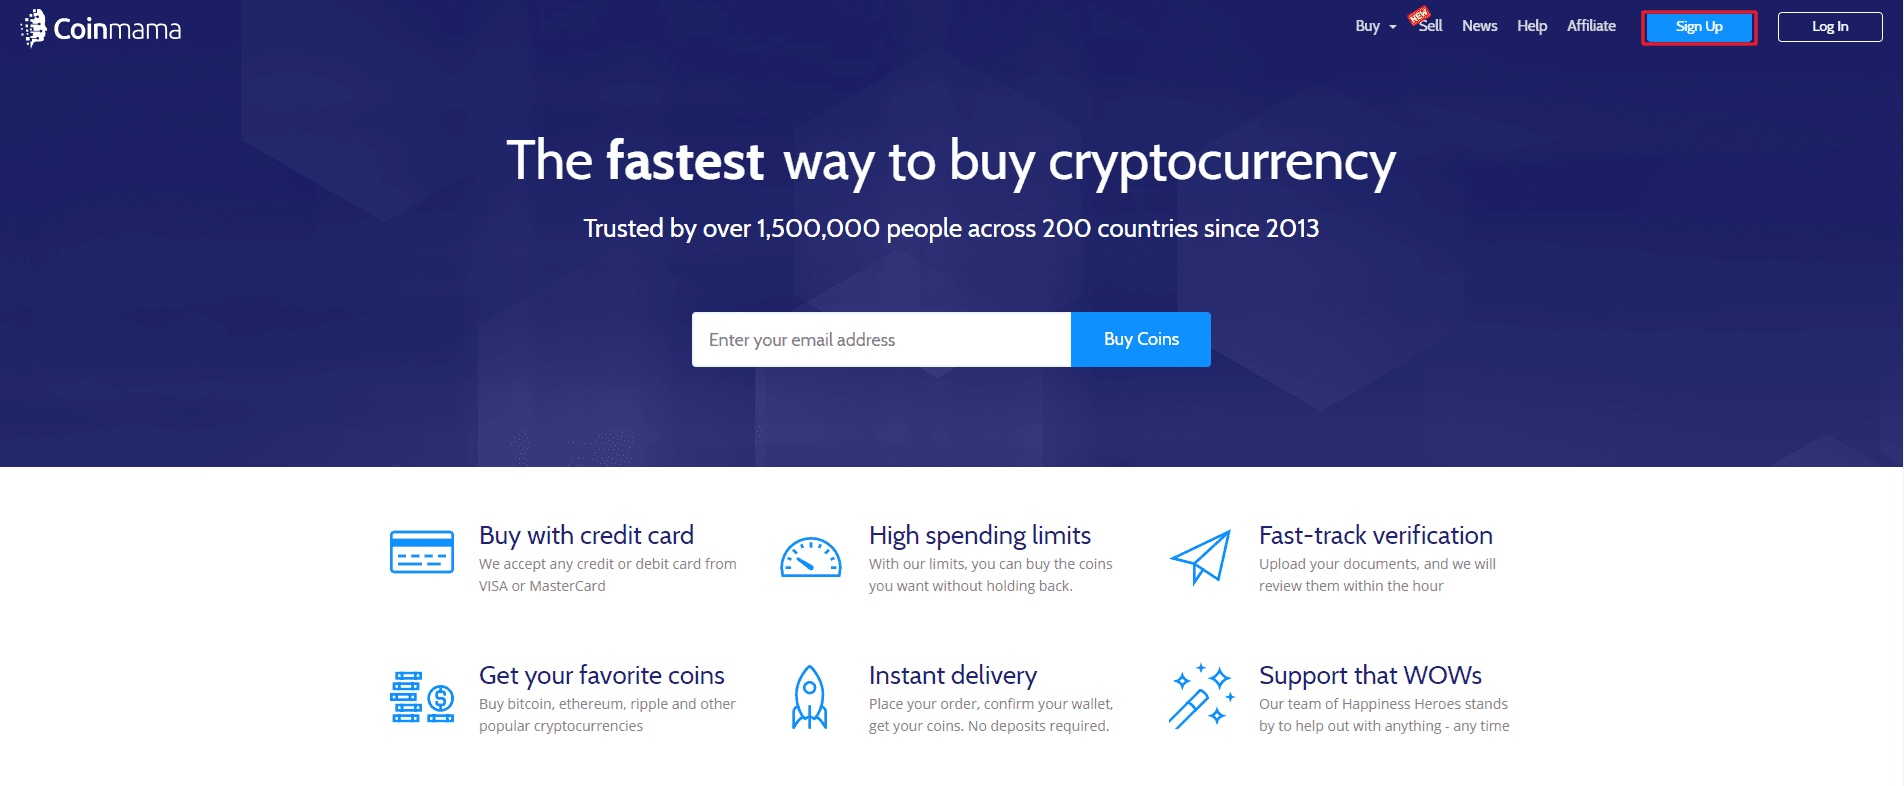
When you first arrive at the Coinmama site, you’ll notice several options in the top right of the homepage. There is a blue button that says “Sign Up.” Click on this button to begin registration for Coinmama.
Next, Coinmama will ask you to fill out a form for registration. The exchange asks for your country, first and last name, email address, and a password. After you’ve provided all the necessary info, select “Create Account” at the bottom of the form.
Not too long after you fill out the form, Coinmama will send you an email asking you to confirm your email address.
You’ll a verification link in the message you receive from Coinmama. Click on that and you’ll return to the site. Next, Coinmama will ask you to confirm your identity by requesting some personal information. Giving the exchange the necessary information helps provide extra security to the Coinmama platform. This helps the exchange know exactly who is on the platform in the event of an attack.
This isn’t an uncommon request. Most exchanges request this type of information, so don’t hesitate to provide the info Coinmama needs.
Once it’s ready, provide Coinmama the necessary documentation. The exchange will accept your driver’s license, passport, or another form of approved government identification. When Coinmama has the paperwork it needs, it will send over approval to use the exchange. Coinmama is pretty quick about getting users approved. You shouldn’t have to wait more than a few hours.
When Coinmama lets you know your account is confirmed, you can start purchasing Litecoin.
Buying Litecoin With Coinmama
One thing to note when you buy Litecoin with Coinmama is that the exchange doesn’t store your payment info on site. There are some users who like this since it means their information is secure if the site gets hacked. However, others dislike the fact that they have to enter their payment information every time they want to make a purchase.
Now that we’ve registered and verified our identity, it’s finally time to buy some Litecoin. Click on the “Buy” link located in the top right corner of the Coinmama site. You should see a page that shows you all the digital currencies that Coinmama supports. Since we’re buying Litecoin, you’ll select “LTC.” At this point, you can choose which rates you want to use. Coinmama lets you choose between USD or EUR.
At this point, you can enter the amount of Litecoin you want to buy. Once you’ve typed that in, select “Buy LTC.” Now, Coinmama will want the digital wallet address for your Litecoin. Coinmama doesn’t provide its users with local wallets for their digital currencies. As a result, you’ll have to create your own.
Locate a wallet that meets your needs, then copy the receiving address. Paste it into the field Coinmama provides so the exchange can send your Litecoin to you. Enter your payment information, then click on “Buy LTC.” That’s all there is to it.
The last step is the validation of your payment by Coinmama. Once it confirms everything, it will send your Litecoin over to your digital wallet. You should now have your very own Litecoin. Using these steps, you can buy Litecoin in Canada whenever you want by using Coinmama.