
Step by step overview on how to buy Litecoin on LiveCoin
LiveCoin is a modern trading platform where customers may exchange, buy, sell, and make profits in the exchange market using cryptocurrency and fiat money. This exchange also offers various game coins.
We will help you buy your first Litecoin on LiveCoin with these straightforward and easy-to-follow steps.
- Sign-up an Account on LiveCoin
- Get verified on LiveCoin
- Secure your LiveCoin account by setting 2FA
- Fund your LiveCoin account
- Start Trading on LiveCoin
1. Sign-up for an Account on LiveCoin
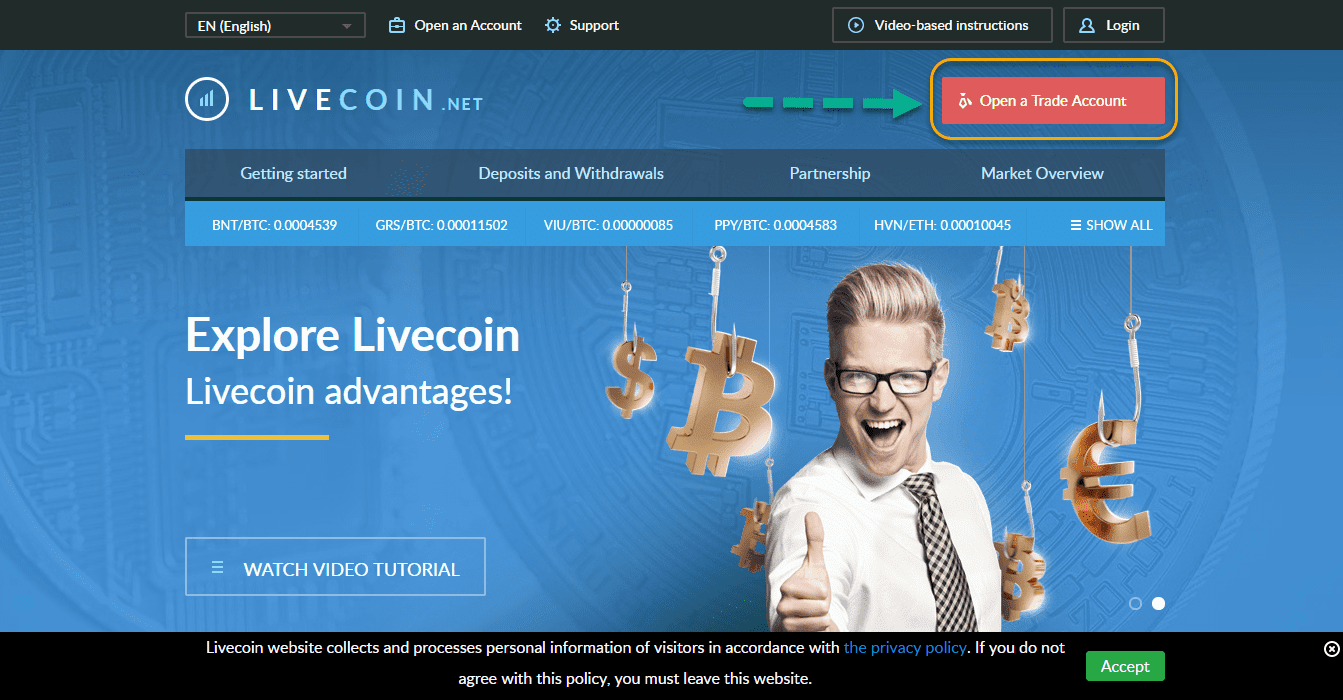
To start, click here to access the exchange site.
On the main page, click on the ‘Accept’ button after reading the privacy policy. To register, click on the red box that says ‘Open a Trade Account.’
Fill in everything in the registration form and enter a referral code if applicable.
Password must be at least twelve characters including one uppercase letter, one lowercase character, and a number.
Check the four privacy boxes and click the ‘Continue’ button to proceed.
Go to your Inbox and look for the LiveCoin confirmation message. Copy the verification code and click on the link for you to go back to the registration page.
Once you’re redirected to the registration page, enter the confirmation code and click on the ‘Confirm’ button. You can click on ‘Resend code’ when necessary.
After successfully confirming the code, you will see a green notification message. Enter your email and password and click on the ‘Sign in’ button.
You will receive another message in your Inbox as a confirmation that your LiveCoin registration process is successful.
Excellent! You’ve successfully registered your LiveCoin account.
2. Verify your LiveCoin account
Verifying your LiveCoin account is an integral process as this grants you access to different features on the platform, from funding your LiveCoin account to buying your first Litecoin.
Let’s get started. Click here.
Log in using the login information you’ve registered for LiveCoin.
Initially, you need to set your payment password. It’s a PIN composed of four-digit. Click on the ‘Continue’ button to proceed.
Next is to click on ‘Account’ which will show you the drop-down menu. Select on ‘Security.’
The ‘Security’ page will load, scroll down and go to the Verification part. They are the ones in red texts.
Fill out the form accurately. You can attach your document by clicking on the ‘Browse’ button. Click on the ‘Submit for verification’ button to continue.
The verification confirmation message will then reflect on the page.
Awesome! Your LiveCoin account has been confirmed and verified.
3. Secure your LiveCoin account by setting a 2-Factor Authentication (2FA)
What is 2FA?
Two-factor authentication, also known as 2FA, is an extra layer of security or added protection which we refer as multi-factor authentication. Not only the username and password are required but also a piece of information that only a user possesses. This process is to confirm a user’s claimed identity.
The 2FA process helps lessen the number of identity theft cases and as well as phishing via email. It would be harder for potential intruders to gain access and steal someone’s identity and personal data without that piece of information that only the account owner knows.
In the case of exchanges what the user has are his/her login details such as the username and password. The form of 2FA that a user possesses for this instance is a token or code. The code can be received either through SMS on a user’s mobile phone or via applications like Google Authenticator or Authy.
In this step, we will use the Google Authenticator app to enable the 2-FA process on your LiveCoin account. Check this if you want to learn more about Google Authenticator.
Download the Google Authenticator app on your mobile phone which only takes a few minutes.
At the top portion of your LiveCoin account, you will see a red box that says enable the 2-FA process. Click on ‘Account’ and select ‘Security’.
Go to ‘Security Level’ and select ‘Level 2’. Click on the ‘Change security level’ button.
Scan the code using the Google Authenticator app and click on the ‘Continue’ box.
Go to your Inbox and look for the new LiveCoin confirmation message with a code. Copy that code.
Note: You have to be quick in copying the code as it expires right away.
Go back to LiveCoin, type in the code that you received from your email, the payment PIN that you’ve set up, and the six-digit code from the Google Authenticator app. These are the three codes that you need to type in every time you log in to your LiveCoin account.
Click on the ‘Continue’ button to proceed.
A green notification text confirms that 2-FA has been successful. You can start logging in to your LiveCoin account.
Every time you log in, you are asked to enter the confirmation code from the Google Authenticator app as an added security on your LiveCoin account.
Fantastic! You have successfully ensured security on your LiveCoin account.
4. Funding your LiveCoin account
You can fund your LiveCoin account in two ways. You can deposit fiat money via bank transfer, or deposit using cryptocurrencies.
To start funding your LiveCoin account, click on ‘Deposit.’
For fiat deposit, select your payment method, type in the amount, and click on the ‘Pay now’ button to continue and confirm your payment.
You can use Perfect Money (for EUR and USD only), Capitalist, OKPay, Payeer, and Advcash online payment options.
For cryptocurrencies deposit, click on the ‘Copy’ button to copy the address where your preferred amount of BTC gets to be transferred. You will receive three confirmations before it gets completed.
Information about fees is under ‘Fees & Limits.’
You can click on ‘Balance’ to view your account balance.
Perfect! You have funded your LiveCoin account.
5. Start Trading Litecoin on LiveCoin
After depositing and making sure that funds are available into your LiveCoin account, it is now time to buy your first Litecoin.
Click ‘Buy/Sell’ and select ‘Trading’ from the drop-down menu. The ‘Trading’ page shows price charts, order book, and trading history.
Note: You have the option to hide the chart as shown in the picture below.
Go to the ‘Buy’ box and type in the amount of your currency. The price and fee are auto-calculated. Click on the ‘Buy BTC’ button to proceed.
A green box with a notification message shows up on the left side of the screen after making transactions.
You can also add another order and submit it once completed.
Your pending orders reflect in the ‘Add Pending Order’ box, and you have the option to cancel it, if needed, by clicking on the ‘x’ button.
If you scroll down the ‘Trading’ page, you can see your orders, the market history, and your trading history.
Congratulations! You now bought your first Litecoin on LiveCoin.